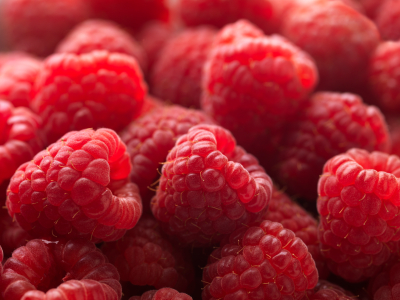
Growing up in rural New Brunswick, we had a raspberry patch behind our house. I didn’t exactly enjoy picking them – if you didn’t want to get scratched to pieces you had to wear long sleeves and pants in the summer heat. However, they were so sweet and delicious, it was worth the trouble (my mom makes an excellent raspberry pie). Luckily, farmer’s markets and some supermarkets are now carrying locally picked raspberries, sparing my limbs the trauma of picking my own.
The secret to making big, bakery-style muffins is to fill the muffin tins up to the top of the cups. Be sure to grease the top of the tin as well as inside the cups because the muffin tops will puff up and cover the tin. Another helpful tip: if you freeze the raspberries spread out on a baking sheet lined with wax paper, the frozen berries will not bleed into the batter as much as fresh ones.
Raspberry Yogurt Muffins
Makes 6 large muffins or 12 small muffins
(VEGETARIAN)
- 1-1/2 cups + 1 Tablespoon unbleached flour
- 1-1/2 teaspoons baking powder
- 1/2 teaspoon baking soda
- 1/2 teaspoon salt
- 3/4 cup + 1 Tablespoon sugar
- 2 large eggs
- 2/3 cup neutral oil, such as safflower or canola
- 1/3 cup plain yogurt
- 1 cup raspberries
- Sugar to sprinkle on top of muffins
- Preheat oven to 375 degrees Fahrenheit.
- In a large mixing bowl, combine 1-1/2 cups flour, 3/4 cup sugar, the baking powder, baking soda and salt. Stir to combine.
- Add wet ingredients: the eggs, oil and yogurt. Stir until batter is mixed together (it will be quite thick).
- In a separate bowl, combine raspberries with 1 Tablespoon flour and 1 Tablespoon sugar. Toss to coat berries.
- Very carefully fold raspberries into muffin batter until they are mixed in. Spoon batter into muffin cups (fill halfway for 12 small muffins or fill to the top of the cups to make 6 large muffins).
- Sprinkle muffin tops with a little bit of sugar. For large muffins, bake for approximately 30 to 35 minutes, or until a knife inserted into the muffins comes out clean (reduce baking time for small muffins).
- Let the muffins cool in the muffin tin before removing – they are almost impossible to get out in one piece while they’re still hot!
Bon Appetit and Enjoy!
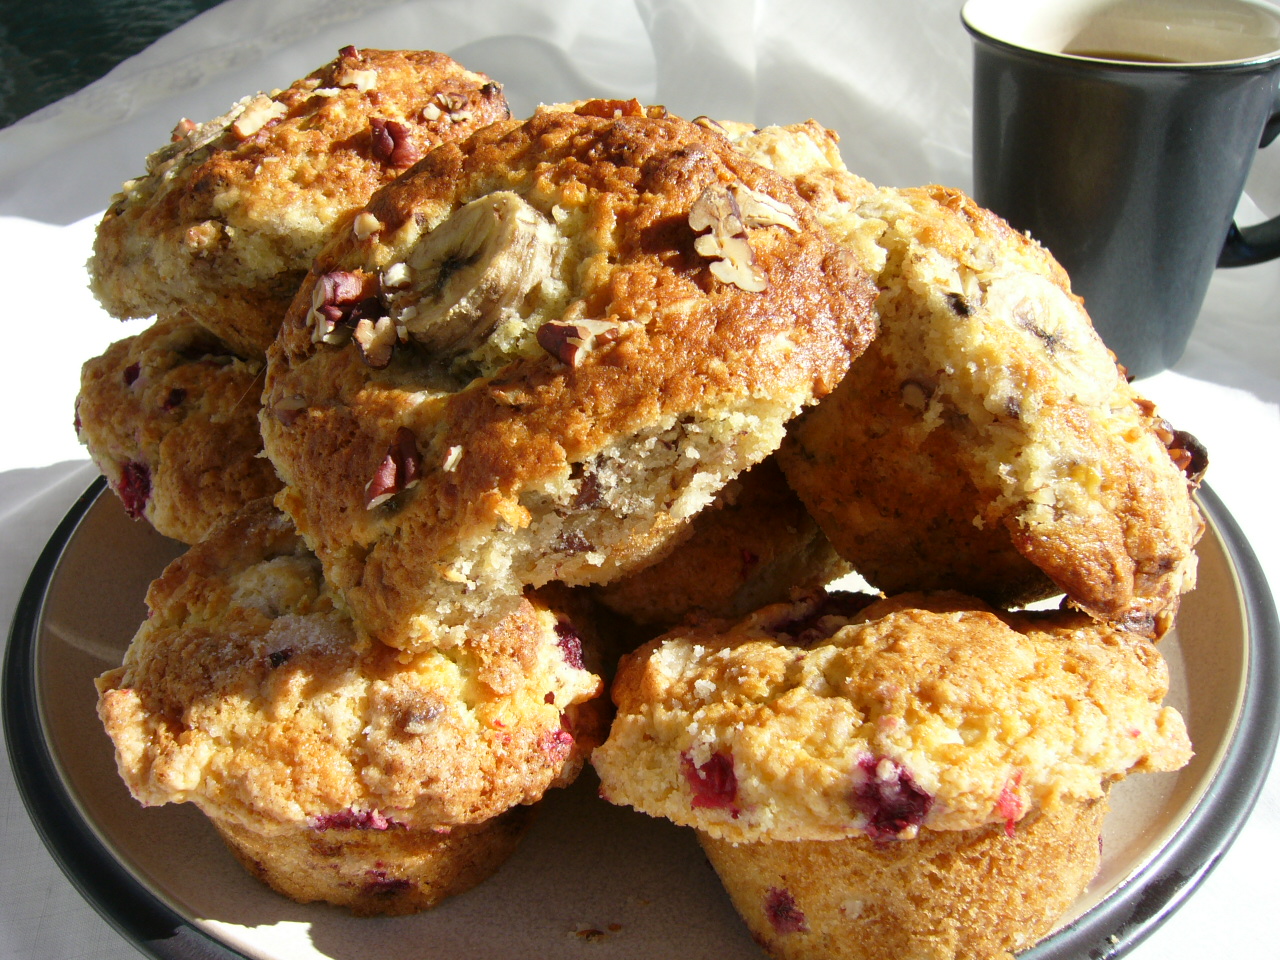
Raspberry Yogurt Muffins (shown with Banana Nut Muffins)


