News

26 08 2008

Exciting news!  In addition to regular updates here at The Seasonal Gourmet, I am now writing regular articles for Suite101.com as well (http://www.suite101.com/profile.cfm/trishcoleman).  All material on Suite101.com is original and different from what appears on this site so check it out!

Trish


Kitchen Tip of the Week – How to Remove an Avocado Pit

26 08 2008

This week I’m going to demonstrate how to pit an avocado.  Avocados make a great accompaniment to Mexican and Latin inspired dishes which are perfect for summer meals.  I also enjoy sliced avocado in salads or sandwiches.  As a bonus, I have included a recipe for guacamole.  Pour yourself a margarita, whip up some guacamole and enjoy with your favourite corn chips!

How to Remove an Avocado Pit

1. Slice avocado lengthwise all the way around, cutting through to the pit


2. Twist the two halves and gently pull apart


3. Using a very sharp, large knife, carefully sink blade into the pit (you can also pry the pit out with a spoon)


4. Twist knife and pull pit out


5. Et voila - you are now ready to scoop out the avocado flesh or cut it into a dice


Guacamole is traditionally made in a molcajete – a large stone bowl with a stone masher that looks like a mortar and pestle set.  However, it is certainly not nessecary to make decent guacamole and you can easily make it in a bowl by mashing the avocado with a fork.  Haas avocados are the most readily available variety. Look for ones that are very dark green (almost black) and soft to the touch so they mash easily.

Guacamole

 Makes about 1 cup – can easily be doubled

(VEGETARIAN)

  • 1 very ripe Haas avocado, pitted (see above)
  • 1 Tablespoon finely diced onion
  • 1/3 cup diced tomato (about 1 small tomato)
  • 1/4 hot sauce such as Tabasco (or more, to taste)
  • 2 teaspoons fresh lime juice
  • 1/4 teaspoon salt
  • 1/2 garlic clove, finely minced – optional (purists would probably not use garlic but I like it)
  • Optional: you can add a bit of chopped fresh cilantro but I usually leave it out because a lot of people dislike the flavour of cilantro!
  1. Pit avocado as detailed above.  Spoon the flesh out of each half into a medium sized bowl.
  2. Lightly mash the avocado with a fork.  Add remaining ingredients and continue to mash the mixture until everything is combined and it is the desired consistency (some people like it very smooth while others prefer it a bit chunky).  
  3. Adjust seasonings to taste and serve with your favourite dishes.


Bon Appetit and Enjoy!


Guacamole, served in a molcajete

Guacamole, served in a molcajete


Tomato Tart with Herbed Ricotta

21 08 2008

Because tomato season is so short, I’m trying to make as many tomato recipes as possible before they’re gone and we’re stuck with tasteless imports again.  I visited the farmer’s market today and picked up a variety of different tomatoes from plum to miniature heirlooms.   The plum tomatoes didn’t really look that great so I was pleasantly surprised when I tasted one and discovered that they were sweet and flavourful.

For this recipe, it’s important to use plum tomatoes because they have less liquid inside and won’t make the dough soggy.  It’s also imperative that you slice them very thinly or they won’t cook properly.  A mandoline is the best tool but a very sharp knife will also work.  You could serve small squares of this as an appetizer or serve larger portions with a salad for a main dish.

Tomato Tart with Herbed Ricotta

Makes approximately 8 appetizer sized servings

(VEGETARIAN)

  • 1/2 package of puffed pastry, thawed
  • 1-1/2 cups thinly sliced plum tomatoes – approximately 6 plum tomatoes, sliced 1/8″ thick
  • 1 cup ricotta cheese
  • 1/4 teaspoon salt
  • 2 teaspoons finely chopped fresh oregano + extra for garnish
  • 1/2 teaspoon finely chopped fresh thyme
  • 1/2 teaspoon finely chopped fresh Italian parsley
  • 1 clove garlic, finely minced
  • 2 Tablespoons freshly grated parmesan cheese
  • Sea salt


  1. Preheat oven to 425 degrees Fahrenheit.
  2. In a medium sized bowl, mix together ricotta, garlic, 2 teaspoons oregano, thyme, parsley, 1/4 teaspoon salt and parmesan cheese.  Stir to combine thoroughly. Set aside.
  3. Roll puff pastry out to a rectangle about 9″ X 12″.
  4. Spread ricotta evenly over dough.  Top ricotta with tomato slices (some tomatoes may be overlapping or doubled).
  5. Sprinkle tomatoes with sea salt and fresh oregano.
  6. Bake tart for 20 to 25 minutes or until pastry is golden brown along the edges and on the bottom. Cut into squares to serve.  Tip: a round pizza cutter is a good way to cut the tart cleanly but a sharp knife will work as well. 

Bon Appetit and Enjoy!

p1010158


Apricot Jam

14 08 2008


This is a very quick version of an apricot spread that you can use on biscuits, toast or croissants to make your morning a little brighter.  I don’t even add any pectin – the fruit mixture just simmers down until it gets quite thick.  This makes only a small batch of jam and is intended to be eaten right away rather than canned.  For information on how to make large batches and prepare jars for canning, visit http://www.pickyourown.org/allaboutcanning.htm

Apricot Jam

Makes approximately 1 cup of jam    

(VEGETARIAN)

  • 2 heaping cups of apricots (about 15 small apricots), quartered and pits removed
  • Pits from the apricots
  • 1 cup sugar
  • 1 Tablespoon amaretto liqueur
  • 2 teaspoons lemon juice
  • 1/4 cup water
  1. In a large saucepan over medium-high heat, place all ingredients (including pits). 
  2. Bring fruit mixture to a simmer and reduce heat so it is gently simmering (not a hard boil).  Simmer for approximately 45 minutes or until fruit has cooked down and started to thicken.
  3. Remove pits and discard.  Let jam cool and use on toast, etc.  Can be kept covered in the refrigerator for a few days.

Bon Appetit and Enjoy!


Corn and Tomato Salad with Basil Vinaigrette

7 08 2008


Corn is one of my favourite vegetables.  The season for fresh corn is very brief in Canada so during the few weeks it’s available, I eat it as often as I can.  Simply roasted or boiled corn on the cob with butter, salt and pepper is a classic but it’s also wonderfully versatile as an ingredient in salads, pasta sauces or soups.  I developed this recipe as a way to showcase a few summer ingredients that we can only get for a short time so enjoy it while you can!   It’s also an excellent way to use up any leftover cooked corn (if there ever is such a thing – which is not too often in my house!)

Corn and Tomato Salad with Basil Vinaigrette

Makes approximately 4 servings as a side dish

(Can be adapted to be VEGETARIAN)

Salad:

  • 2-1/2 cups cooked corn, cut off the cobs (approximately 4 cobs)
  • 4 rashers bacon (optional – omit for vegetarians)
  • 10 to 12 mini tomatoes (such as cocktail, cherry, grape, etc.), cut in half
  • 3 Tablespoons red onion, cut into a fine dice
  • 1/4 cup red pepper, cut into a fine dice
  • Salt and pepper, to taste
  • Fresh basil leaf, for garnish
  1. Cook bacon until crisp.  Crumble into pieces and place in a large bowl.
  2. Add tomatoes, corn, onion and red pepper to bowl.  Drizzle with basil vinaigrette (see recipe below) and toss to coat.
  3. Season with salt and pepper and garnish with a basil leaf.

Basil Vinaigrette:

  • 4 Tablespoons neutral oil (such as canola or safflower)
  • 2 teaspoons white wine vinegar
  • 1 teaspoon red wine vinegar
  • 1 Tablespoon finely chopped fresh basil (*see tip on how to chop basil)
  • 1/2 teaspoon dijon mustard
  • pinch of salt

*Tip for cutting basil leaf: Take a few large basil leaves and roll them up together very tightly, as though rolling a cigar.  With a sharp knife, cut through roll in thin strips.   Chop up strips into smaller pieces.

  1. Combine all vinaigrette ingredients in a small bowl and whisk together.  Use on corn salad or other summer salads.

Bon Appetit and Enjoy!

corn-tomato-salad


Peach Chutney

6 08 2008

I debated about what to call this – peach salsa, peach sauce, peach relish…  It is probably closest in style to a classic chutney – fruit, vinegar and spices are cooked together to make a delicious accompaniment to grilled meats.   I have given a few suggestions below for using the chutney. 

Peach Chutney

Makes approximately 1-2/3 cups sauce

(VEGETARIAN)

  • 4 large, ripe peaches
  • 3 Tablespoons very finely diced red onion
  • 2 Tablespoons very finely diced red pepper
  • 1/2 a jalapeno pepper, seeds and membranes removed and finely diced
  • 1 Tablespoon neutral oil, such as safflower or canola
  • 2 Tablespoons packed brown sugar
  • 1/4 cup apple cider vinegar
  • 1 teaspoon finely chopped fresh thyme
  • 1/2 teaspoon ground mustard powder
  • 1/2 teaspoon Worchestershire sauce
  • 1/4 teaspoon chili powder
  • 1 clove garlic, finely minced
  • 1 teaspoon red pepper flakes
  • salt & pepper, to taste
  1. Remove skin from peaches (see note*) and dice fruit, discarding the pits.  Set aside.  *To remove peach skin:  Fill a large bowl with ice and cold water and set aside.  Fill a stockpot with water and bring to a boil.  While the water is coming to a boil, use a knife to cut a large ‘X’ into the bottom of the peaches, making sure to cut right through the skin.  Once the water has come to a boil, carefully place the peaches into the water.  Leave them in for 45 seconds and then remove with a slotted spoon.  Drop peaches immediately into the bowl of ice water to stop them from cooking.  The skin should lift away fairly easily once they have cooled.  Peel skin off  and discard  (it’s not a big deal if you can’t get it all off easily – it will add a bit of colour and texture).
  2. In a medium saucepan, heat oil and saute onions, red pepper and jalapeno pepper on medium-high heat until they begin to soften, approximately 2 minutes. 
  3. Add peaches and cook for another 2 minutes.  Add remaining ingredients and cook on medium heat for approximately 10 minutes, until fruit is beginning to soften and the flavours start to come together.
  4. Chutney can be made in advance and refrigerated.

Serving Suggestions for Peach Chutney:

  • It makes an excellent accompaniment to grilled pork and chicken dishes.  For blue cheese stuffed pork chops: Take a thick cut (2″) pork chop and make a slit in the side with a sharp knife, forming a pocket.  Stuff with about a teaspoon crumbled blue cheese per chop.  Rub both sides of the pork chops with olive oil, salt, pepper, finely chopped thyme and rosemary.  Saute or grill seasoned chops. 
  • It makes a great dipping sauce for shrimp.
  • Puree chutney and use as a grilling glaze for shrimp, pork or chicken.  Use as you would a barbeque sauce.
  • Make simple hors d’oeuvres: put a dollop of cream cheese on a cracker and top with a spoonful of chutney.  Garnish with a sprig of thyme.
  • Use as a spread for chicken sandwiches or wraps in place of mayonnaise.
  • Add a teaspoon of ground cumin and serve with your favourite Indian dishes.

Bon Appetit and Enjoy!


Raspberry Yogurt Muffins

4 08 2008

Growing up in rural New Brunswick, we had a raspberry patch behind our house.  I didn’t exactly enjoy picking them – if you didn’t want to get scratched to pieces you had to wear long sleeves and pants in the summer heat.   However, they were so sweet and delicious, it was worth the trouble (my mom makes an excellent raspberry pie).  Luckily, farmer’s markets and some supermarkets are now carrying locally picked raspberries, sparing my limbs the trauma of picking my own.

The secret to making big, bakery-style muffins is to fill the muffin tins up to the top of the cups.  Be sure to grease the top of the tin as well as inside the cups because the muffin tops will puff up and cover the tin.  Another helpful tip: if you freeze the raspberries spread out on a baking sheet lined with wax paper, the frozen berries will not bleed into the batter as much as fresh ones.

Raspberry Yogurt Muffins

Makes 6 large muffins or 12 small muffins

(VEGETARIAN)

  • 1-1/2 cups + 1 Tablespoon unbleached flour 
  • 1-1/2 teaspoons baking powder
  • 1/2 teaspoon baking soda
  • 1/2 teaspoon salt
  • 3/4 cup + 1 Tablespoon sugar
  • 2 large eggs
  • 2/3 cup neutral oil, such as safflower or canola
  • 1/3 cup plain yogurt
  • 1 cup raspberries
  • Sugar to sprinkle on top of muffins
  1. Preheat oven to 375 degrees Fahrenheit.
  2. In a large mixing bowl, combine 1-1/2 cups flour, 3/4 cup sugar, the baking powder, baking soda and salt.  Stir to combine.
  3. Add wet ingredients: the eggs, oil and yogurt.  Stir until batter is mixed together (it will be quite thick).
  4. In a separate bowl, combine raspberries with 1 Tablespoon flour and 1 Tablespoon sugar.  Toss to coat berries.
  5. Very carefully fold raspberries into muffin batter until they are mixed in.  Spoon batter into muffin cups (fill halfway for 12 small muffins or fill to the top of the cups to make 6 large muffins).
  6. Sprinkle muffin tops with a little bit of sugar.  For large muffins, bake for approximately 30 to 35 minutes, or until a knife inserted into the muffins comes out clean (reduce baking time for small muffins).
  7. Let the muffins cool in the muffin tin before removing – they are almost impossible to get out in one piece while they’re still hot!

Bon Appetit and Enjoy!

Raspberry Yogurt Muffins (shown with Banana Nut Muffins)

Raspberry Yogurt Muffins (shown with Banana Nut Muffins)


White Bean Dip with Fresh Herbs

30 07 2008

Any serious cook should try to keep an herb garden.  Even if you live in a small apartment, you can keep a small one in a pot on the counter.   The types of herbs will depend on what kind of cooking you’re interested in – if you like Thai food, for example, you’d want to grow fresh cilantro, whereas a cook who prefers Italian might grow a lot of basil.  The fresh herbs I typically have on hand include: sage, Italian parsley, thyme, rosemary, basil and oregano.  I love being able to snip off a bit of herb as I need it.  It’s the ultimate fresh, local ingredient.

Here is a recipe I developed that is quick to put together.  The dip’s flavour will get stronger over time so if you make it in advance, taste it and adjust seasonings before serving.

White Bean Dip with Fresh Herbs

Makes approximately 1-1/4 cups of dip

(VEGETARIAN)

  • One 14 oz. can (398 ml) cannelini beans (aka white kidney beans) OR 1-1/4 cups cooked cannelini beans
  • 2 Tablespoons fresh squeezed lemon juice 
  • 2 Tablespoons olive oil
  • 1/2 teaspoon very finely chopped fresh rosemary
  • 1/2 teaspoon very finely chopped fresh thyme
  • 1 teaspoon very finely chopped fresh sage leaf (approximately 2 medium leaves)
  • 1 garlic clove, finely minced
  • Salt, to taste
  • Pita or flatbreads for serving
  1. Place rinsed and drained beans in a large mixing bowl.  Add olive oil and lemon juice.
  2. Using a potato masher, mash beans until they are completely mashed and relatively smooth.  Do not use a food processor as it results in a dip that is grainy and lacks creaminess.
  3. Mix in chopped herbs, garlic and add salt to taste.  Dip can be made in advance and refrigerated until ready to use.  Serve with flatbread or grilled pita wedges.

Bon Appetit and Enjoy!


Mid-Summer Inspiration

30 07 2008

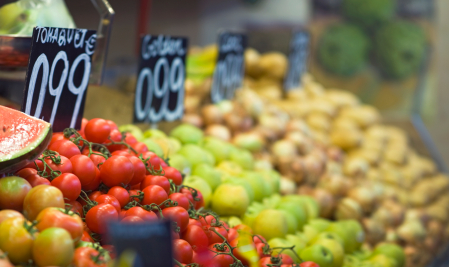
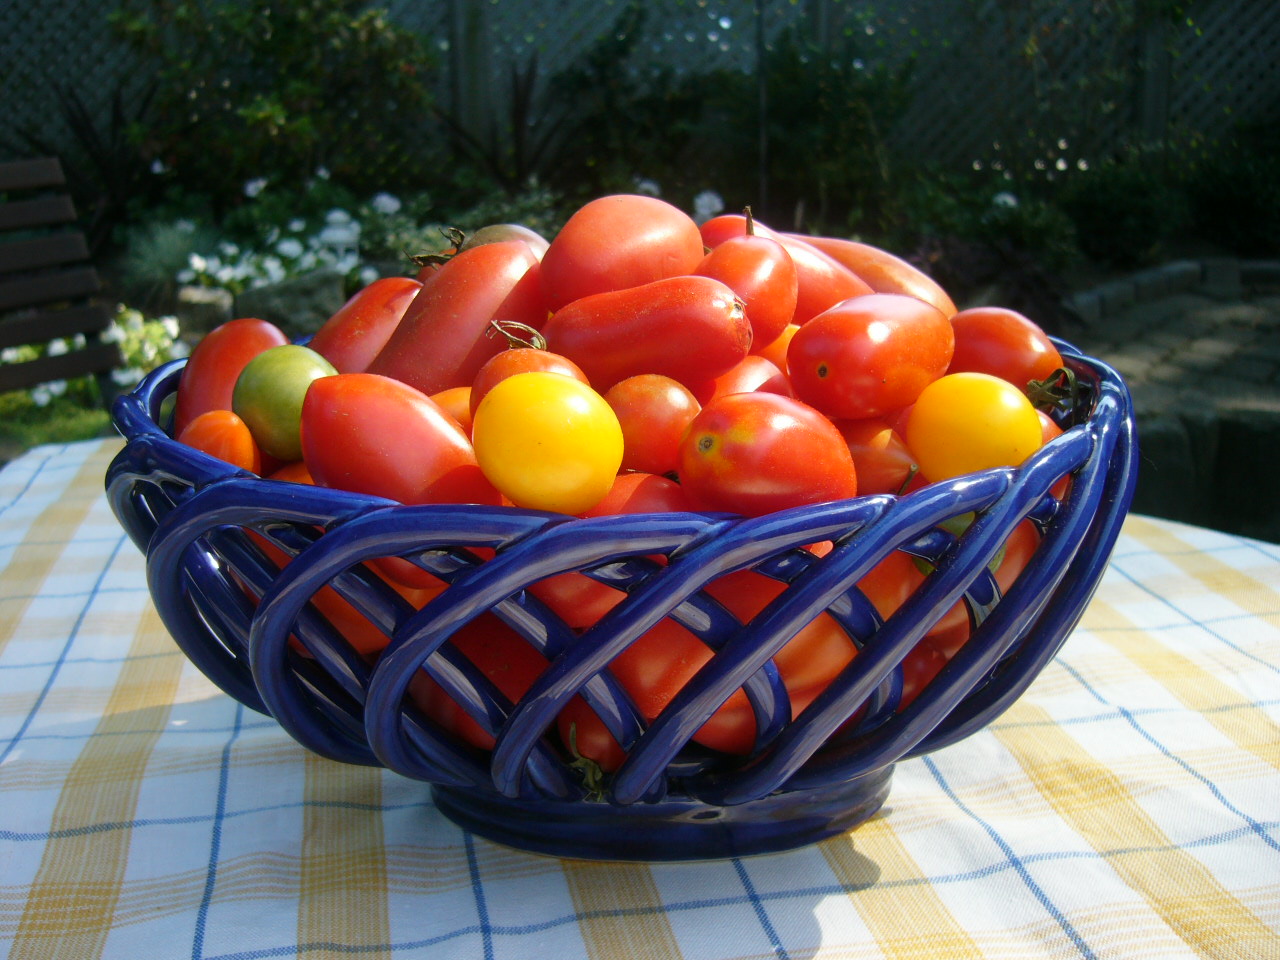
It’s mid-summer and the farmer’s markets are full of great fresh produce.  Luckily, when fruits and vegetables are at their peak, you don’t have to do a lot with them to make them taste good.  Here are some simple ideas for fuss-free summer cooking. 

Why don’t you:

-Shuck some corn and brush with olive oil.  Sprinkle some salt and pepper on and roast in the oven or grill on the BBQ until golden brown, approximately 15 minutes (turn part way through cooking).  Serve with fresh butter.

-Make a chopped salad with fresh veggies.  Cut up fresh peppers, tomatoes, cucumbers, thin sliced onion, blanched green beans, radishes, etc.  Arrange on a platter with some lettuce.  Drizzle with a basic vinaigrette:

Basic Vinaigrette

  • 1 Tablespoon your favourite vinegar (white wine vinegar, red wine vinegar, balsamic, etc)
  • 3 to 4 Tablespoons neutral oil (such as safflower, canola, etc)
  • 1 garlic clove, finely minced
  • 1/2 teaspoon dijon mustard
  • Salt & pepper, to taste
  1. Put all ingredients in a bowl and whisk until combined.  Use on your favourite salads.


-Cook new potatoes in boiling water until tender.  Toss with pesto sauce and serve with grilled meats.

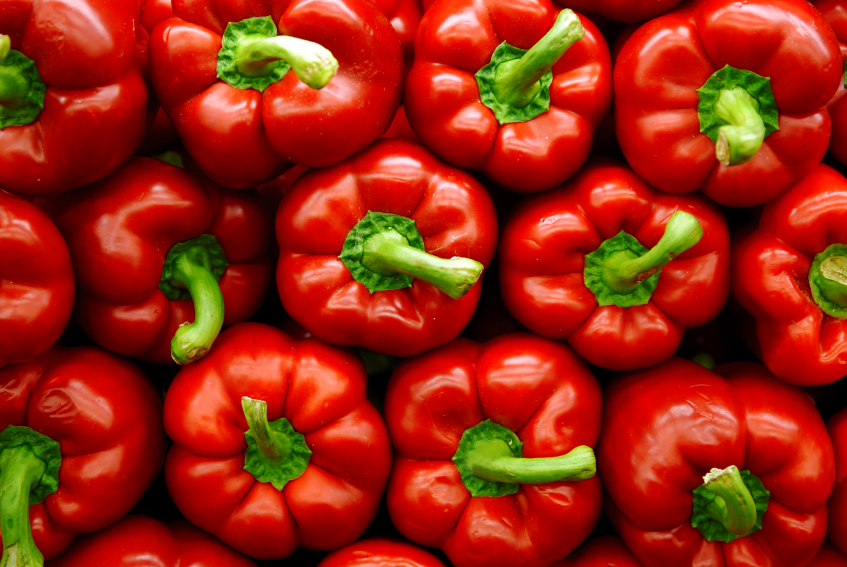
-Make roasted peppers: Cut a bunch of red, yellow or orange peppers in half lengthwise and remove stem and seeds.  Roast on a grill or in the oven until skin is black and charred.  Place in a large bowl and cover bowl with a plate and let them rest for 15 minutes.  Once peppers have cooled, peel off the charred skins and discard.  Serve peppers as a side dish, in salads or in dips.

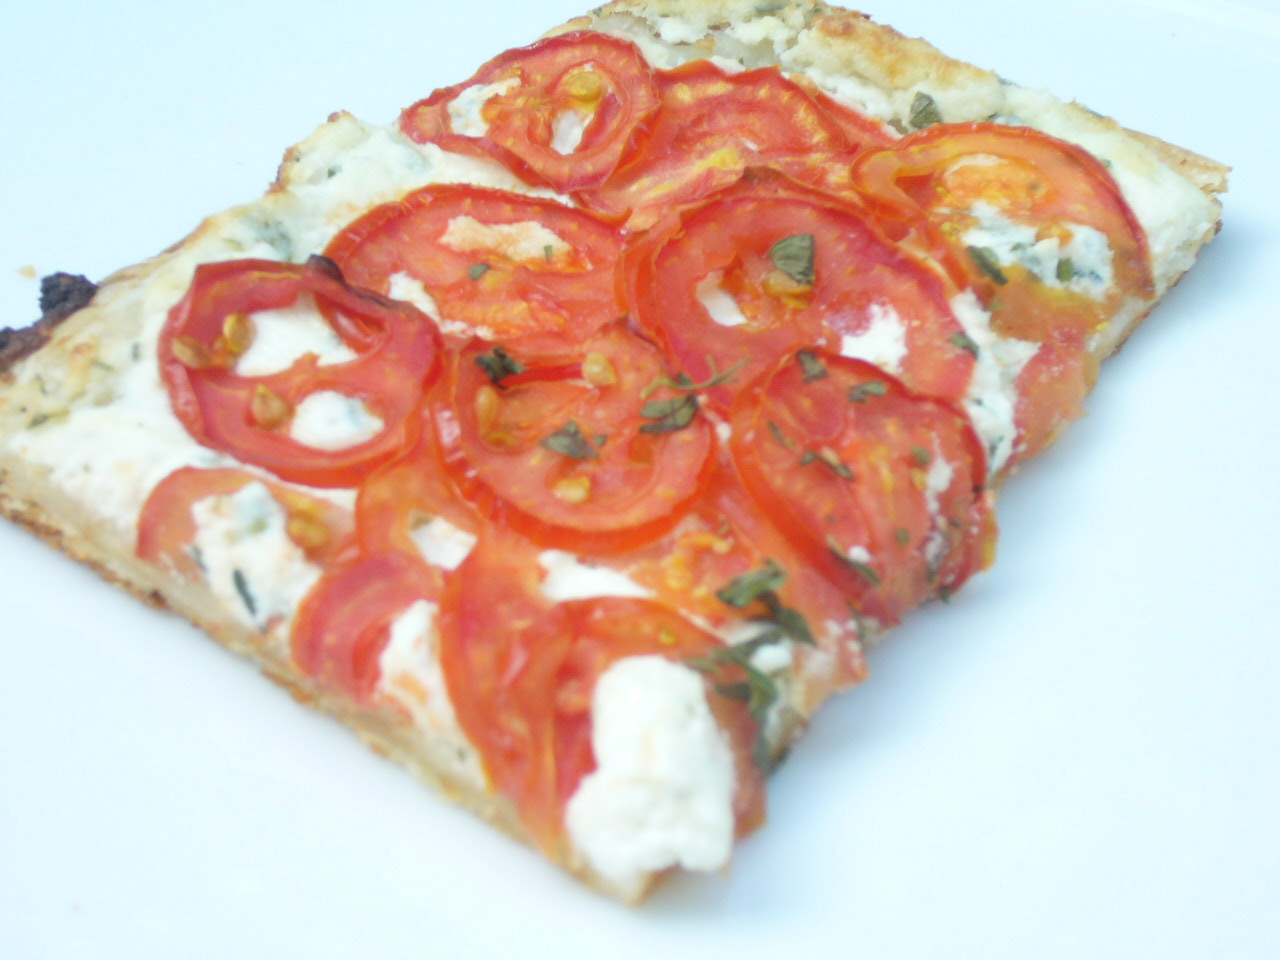
-Cut the top 1/4 off of cocktail tomatoes or large cherry tomatoes.  Remove seeds.  Place a basil leaf and cube of buffalo mozzarella in each one.  Sprinkle with sea salt and pepper and drizzle tomaotes with good olive oil.

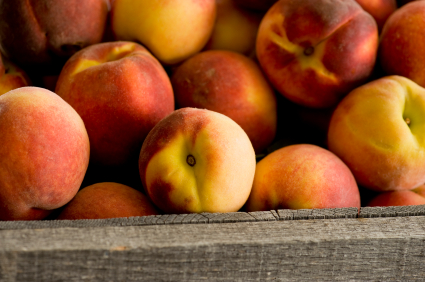
-Toss cut up peaches with a splash of amaretto liqueur and top with lightly sweetened whipped cream or vanilla ice cream.

Bon Appetit and Enjoy!


Zucchini Blossoms

28 07 2008

One of the goals of The Seasonal Gourmet is to develop recipes that almost anyone can make without searching high and low for exotic ingredients.  However, I feel that I must make a minor exception for zucchini blossoms.  They are not easy to find but if you do happen to come across some they are a wonderful treat.  Your best chance of finding them is at a farmer’s market – they are too fragile to be shipped very far for supermarkets.  The are very popular in Italy where they are often stuffed and then fried in a batter.  I don’t know why they aren’t more popular in North America because there certainly isn’t a shortage of zucchini here.  Perhaps a lot of people don’t realize that the flowers are edible (and delicious!).

Here are two recipes I’ve developed based on zucchini flowers I’ve eaten in Italy.  There are a few steps but it comes together quite easily and the results are definitely worth it.

Zucchini Blossoms with Herbed Ricotta

(VEGETARIAN)

Ricotta Filling:

  • 1/2 cup ricotta cheese
  • 1 teaspoon very finely chopped fresh rosemary
  • 1 teaspoon very finely chopped fresh thyme
  • 1 garlic clove, finely minced
  • 1/4 cup grated Parmesan cheese
  • 1/4 teaspoon salt
  1. In a medium sized bowl, combine all ingredients and stir until blended.  Set aside until ready to use (can be made in advance and refrigerated).

Batter:

  • 1/2  cup unbleached flour
  • 2 teaspoons olive oil or neutral oil (such as canola or safflower)
  • 1/2 to 3/4 cup warm water
  • 3 egg whites
  1. In a large mixing bowl, add flour and olive oil.  Mix together with a spoon.  Add water 1/4 cup at a time, stirring completely into flour mixture.  Add enough to make a smooth batter. 
  2. In a separate bowl, beat egg whites until they form stiff peaks.  Carefully fold beaten egg whites into batter.  Set aside until ready to use.

Putting it all together:

  • 10 to 12 zucchini flowers
  • Neutral oil for frying (such as safflower or canola) – enough to fill a large sauce pan about 2″ deep OR if you have a deep fryer, fill with oil according to manufacturer’s instructions
  • Sea salt
  • Lemon wedges
  1. Clean blossoms thoroughly, by gently peeling back the petals and rinsing inside.  Remove any stamen inside the blossom.  Blot carefully to dry on clean dish cloths or paper towels.  
  2. Carefully separate the petals and fill each flower with a spoonful of ricotta mixture.  Fold petals back up to enclose filling.  Dip blossoms in batter until they are coated.   
  3. Very carefully heat oil in pan (or heat deep fryer) until it is around 350 degrees Farenheit.  You should be able to fry a cube of bread until golden brown in about 15 seconds once it’s at the proper temperature (watch closely and reduce heat if oil begins to smoke).
  4. Drop a few battered blossoms at a time into the oil.   Cook until puffed and golden brown, approximately 2 minutes.  Using a slotted spoon, remove blossoms from heat and drain on a layer of paper towel.   
  5. Repeat the frying process with remaining blossoms.  Sprinkle with sea salt and a squeeze of fresh lemon juice and serve immediately.


Zucchini Blossoms with Shrimp

This recipe was inspired by a dish I had at Ristorante Romano, a seafood restaurant in Viareggio, Italy on the Tuscan coast.  This follows the same technique as the ricotta stuffed blossoms above but is even simpler because the filling doesn’t require any mixing.

  • 10 to 12 zucchini blossoms
  • 10 to 12 large cooked shrimp, shells and tails removed
  • Batter – see recipe above
  • Neutral oil for frying (such as safflower or canola) – enough to fill a large sauce pan about 2″ deep OR if you have a deep fryer, fill with oil according to manufacturer’s instructions
  • Sea salt
  • Lemon wedges
  1. Clean blossoms thoroughly, by gently peeling back the petals and rinsing inside.  Remove any stamen inside the blossom.  Blot carefully to dry on clean dish cloths or paper towels.  
  2. Carefully separate the petals and fill each flower with a shrimp.  Fold petals back up to enclose shrimp.  Dip blossoms in batter until they are coated.   
  3. Very carefully heat oil in pan (or heat deep fryer) until it is around 350 degrees Farenheit.  You should be able to fry a cube of bread until golden brown in about 15 seconds once it’s at the proper temperature (watch closely and reduce heat if oil begins to smoke).
  4. Drop a few battered blossoms at a time into the oil.   Cook until puffed and golden brown, approximately 2 minutes.  Using a slotted spoon, remove blossoms from heat and drain on a layer of paper towel.   
  5. Repeat the frying process with remaining blossoms.  Sprinkle with sea salt and a squeeze of fresh lemon juice and serve immediately.

Bon Appetit and Enjoy!